Native macOS utility · v1.0.9

Your iPhone. One keystroke. A screenshot on your Mac.

Pull the actual iPhone frame over USB or local Wi-Fi, then save it to your folder and clipboard—without a cloud relay.

Native Swift No account or cloud relay Apple silicon + Intel
Vote on Product Hunt
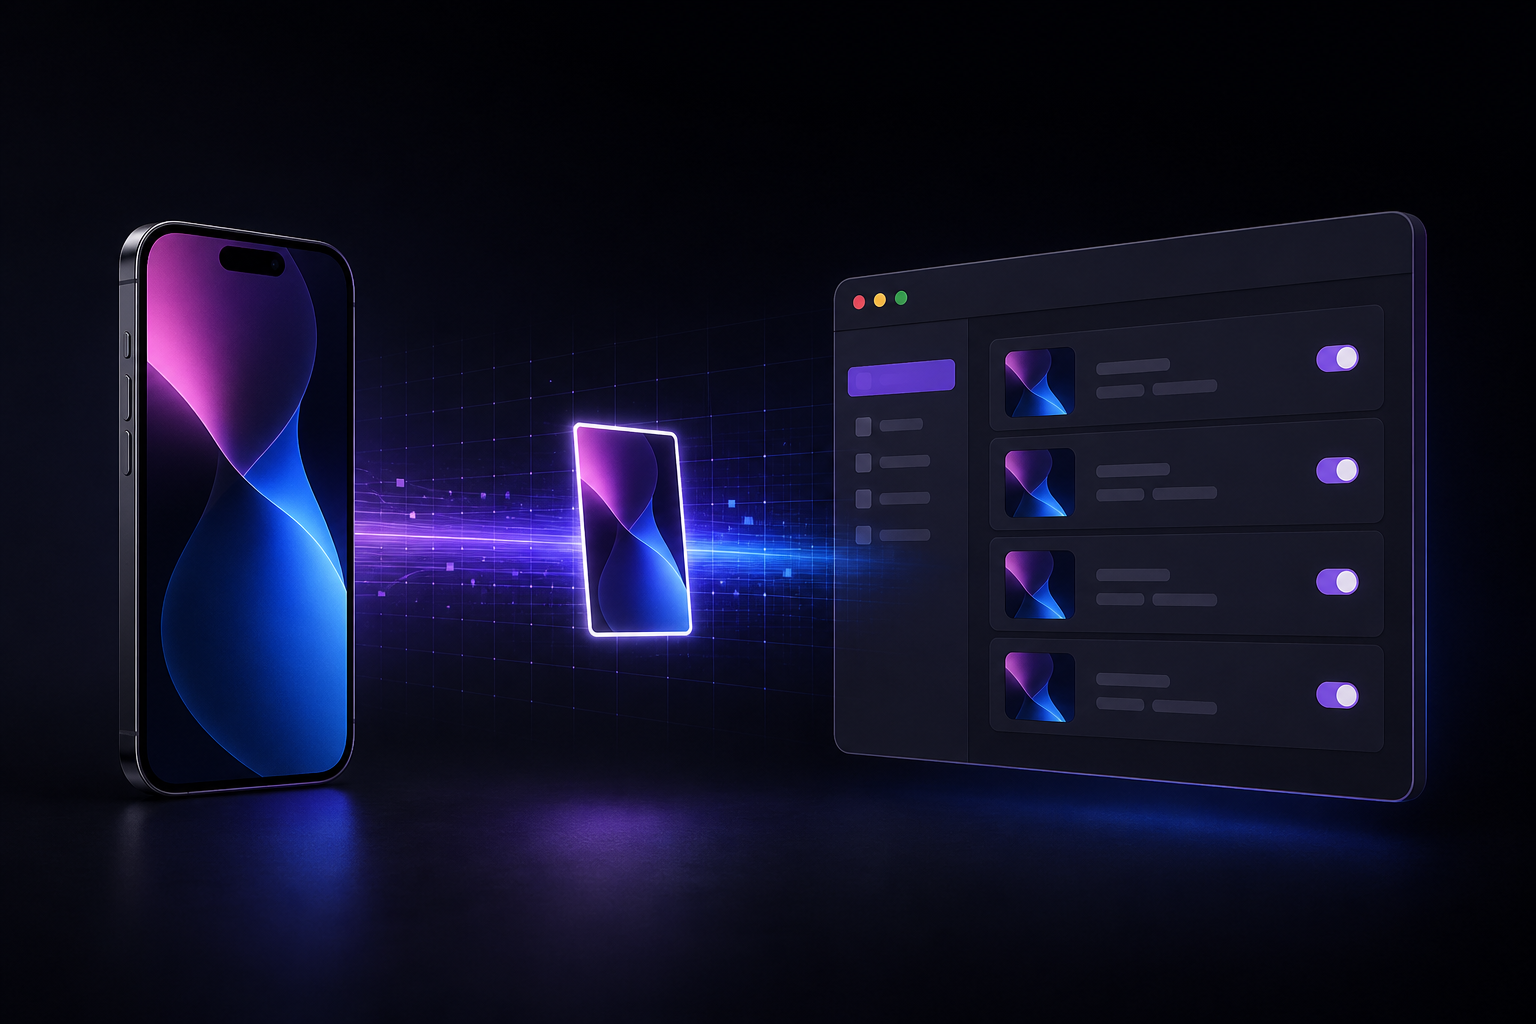
An iPhone screenshot traveling through a violet beam into TetherShot on a Mac
PHONE FRAMEPNG · LOCAL
TetherShot 1.0.9
1179×2556Pixel-perfect
USB + Wi-FiTwo modes
Local onlyNo cloud relay
⌘⇧7Capture anywhere
Features

One thing, done brilliantly.

A focused native Mac app with an optional menu-bar controller. Close the window and capture keeps running quietly.

01

USB capture

A trusted, cabled iPhone shows up as a screen source. Native AVFoundation grabs the real, full-resolution frame — no QuickTime dance.
02

Wi-Fi capture

Capture wirelessly over your local network through Apple's developer-services tunnel — same pixel-perfect frame, even when the phone is locked.
03

Straight to clipboard

Every capture is copied and ready to paste into chat, docs, or an editor. Toggle it off whenever you like.
04

Global hotkey

Press ⌘⇧7 from anywhere. Capture every connected device by default, or choose one preferred iPhone and TetherShot remembers it.
05

Your folder, your rules

Pick any destination. Timestamped filenames, optional per-device subfolders, remembered across launches.
06

Signed in-app updates

Built-in “Check for Updates” verifies the latest notarized GitHub release, replaces the installed app in place, and relaunches—without Node.js or Xcode.

The actual app

A proper Mac utility. Not just a menu.

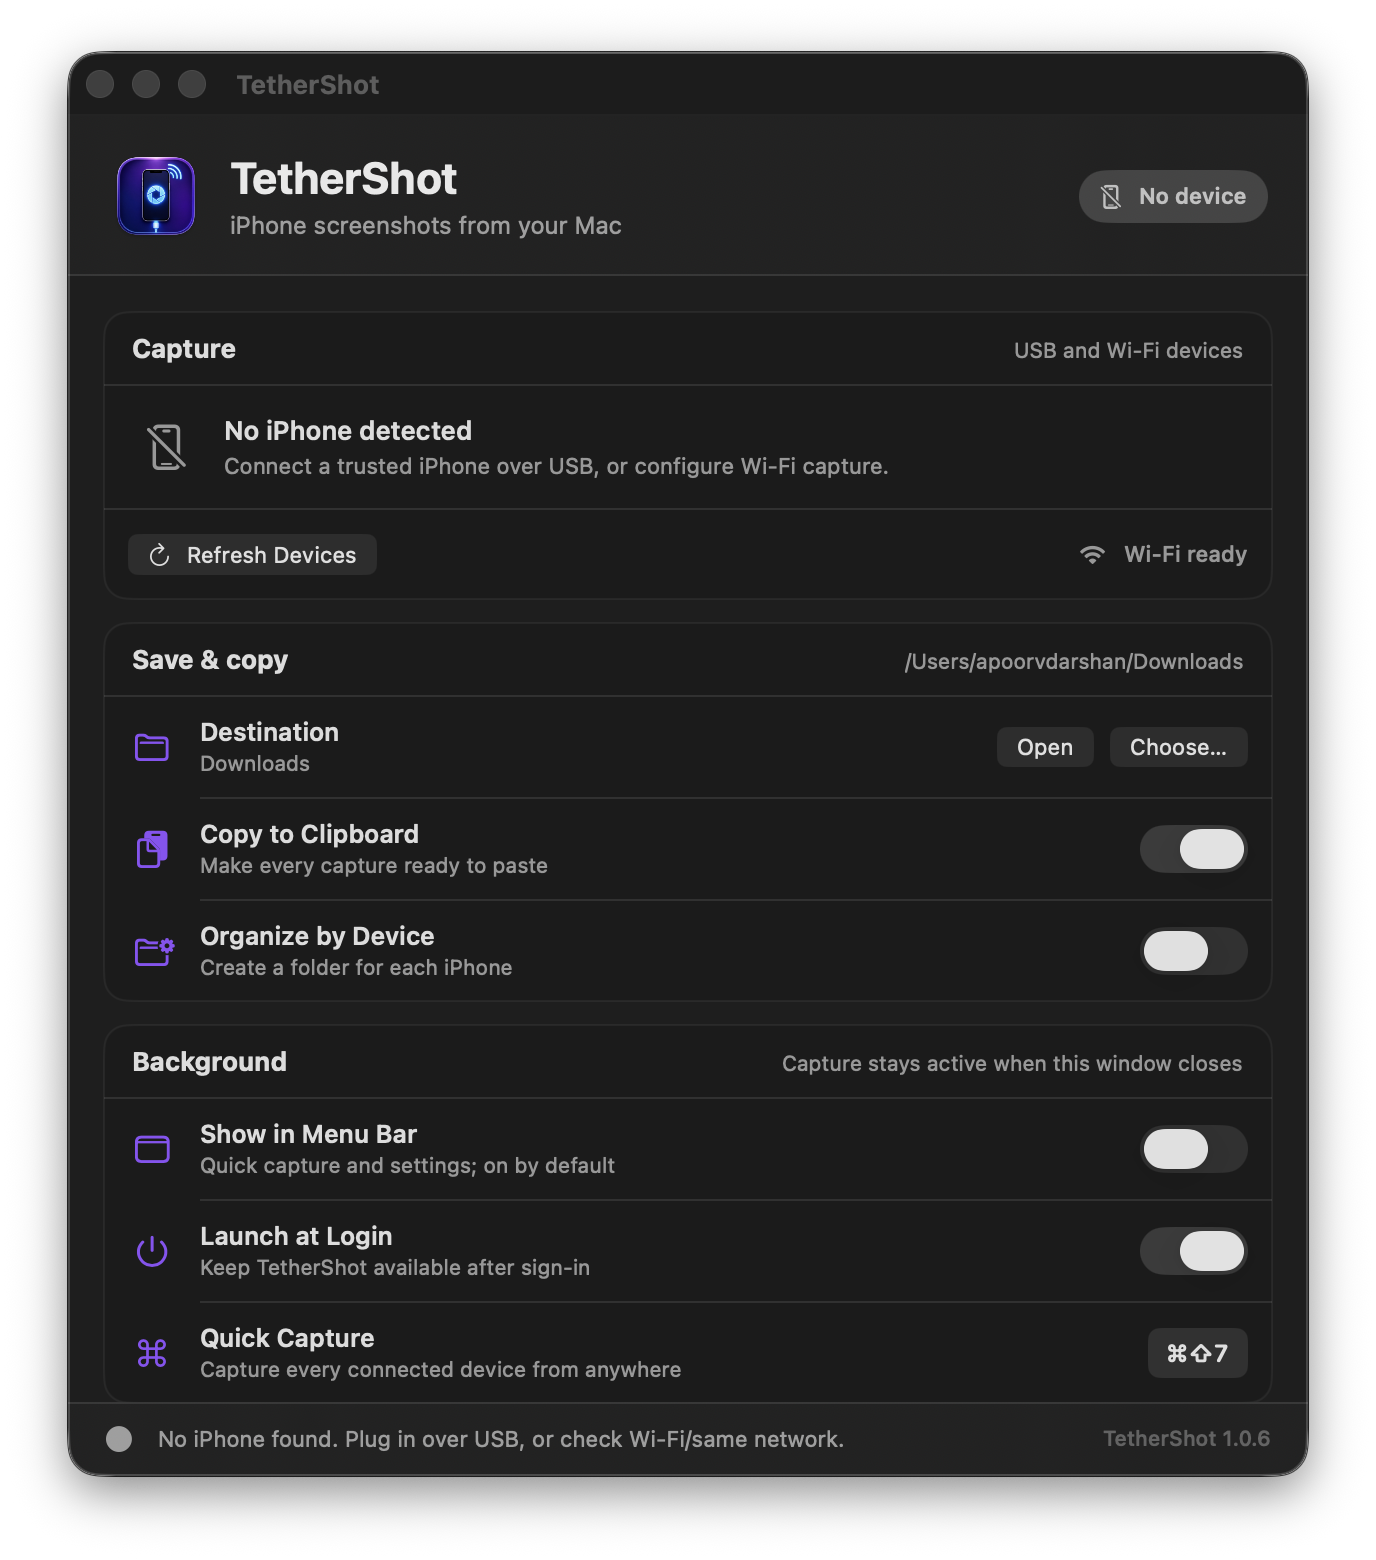
Open TetherShot from Applications to manage devices, capture behavior, launch settings, updates, and support links in one clear window.

Close stays active The red button hides the window while background capture continues. Menu bar is optional Keep the fast controller on by default, or turn it off from the app. One app, one process Opening it again brings the same running utility forward.
TetherShot native macOS settings window
Native SwiftUI control panel · macOS 14+

Capture modes

Two ways in. Both pixel-perfect.

01 / USB

Plug in & go

The fastest, zero-setup path — just trust the Mac once.

  • Native AVFoundation, no daemons
  • Full device resolution
  • Works the moment you connect
02 / Wi-Fi

Cut the cable

One-time setup, then capture from across the room.

  • RemoteXPC tunnel via pymobiledevice3
  • Captures even when locked
  • Auto-discovered on your network

How it works

Three steps to a screenshot.

1

Install

One Homebrew command installs the signed native app in /Applications.

brew install --cask aopv/tap/tethershot
2

Connect

Plug in and tap Trust, or set up Wi-Fi once for cable-free captures.

USB · or · Wi-Fi
3

Capture

Click the menu-bar icon or hit the hotkey. Saved to your folder, copied to clipboard.

click → saved + copied

Install

Running in about a minute.

Use Homebrew for a verified package-managed install, choose the signed universal DMG for drag-and-drop, or use npm for the CLI and source-built workflow.

install via Homebrew
# signed + notarized universal app
brew install --cask aopv/tap/tethershot

# launch from Applications or Spotlight
open -a TetherShot
optional · cable-free Wi-Fi
# tunnel service (asks for admin pw once)
tethershot setup-wifi

# on the iPhone, once over USB:
#  · enable Developer Mode
pymobiledevice3 lockdown \
  wifi-connections --state on

Requirements: macOS 14+ (built on Tahoe 26), Xcode Command Line Tools (xcode-select --install), and an iPhone you can trust. Wi-Fi uses pymobiledevice3.

CLI

One command, a few verbs.

tethershot --help
tethershot            # launch the app
tethershot install    # build & install to ~/Applications
tethershot update     # update to the latest version
tethershot setup-wifi # install the Wi-Fi tunnel service
tethershot uninstall  # remove the app
tethershot version    # print the installed version

FAQ

Good questions.

Does it really work wirelessly?

Yes. After a one-time USB pairing and enabling Developer Mode, TetherShot captures over your local Wi-Fi using Apple's developer-services tunnel — pixel-perfect and cable-free, even when the phone is locked.

Is my data sent anywhere?

No. Screenshots are written straight to your local folder and clipboard. No analytics, no account, no server. See the Privacy Policy.

Why does it ask for Camera permission?

For USB capture, macOS exposes the iPhone's mirrored screen through the AVFoundation (camera) pipeline, so it's gated by the Camera privacy bucket. TetherShot never uses your Mac's camera.

Homebrew, DMG, or npm—which should I use?

Use Homebrew for the easiest verified install and upgrades, or the signed universal DMG for drag-and-drop. Choose npm if you also want the CLI, Wi-Fi setup commands, or a source-built app.

Does it support Android?

Not today — TetherShot is iPhone-only by design. Android via adb is a possible future direction.

Grab your first iPhone screenshot.

Free, open source, and built for both Apple silicon and Intel Macs.